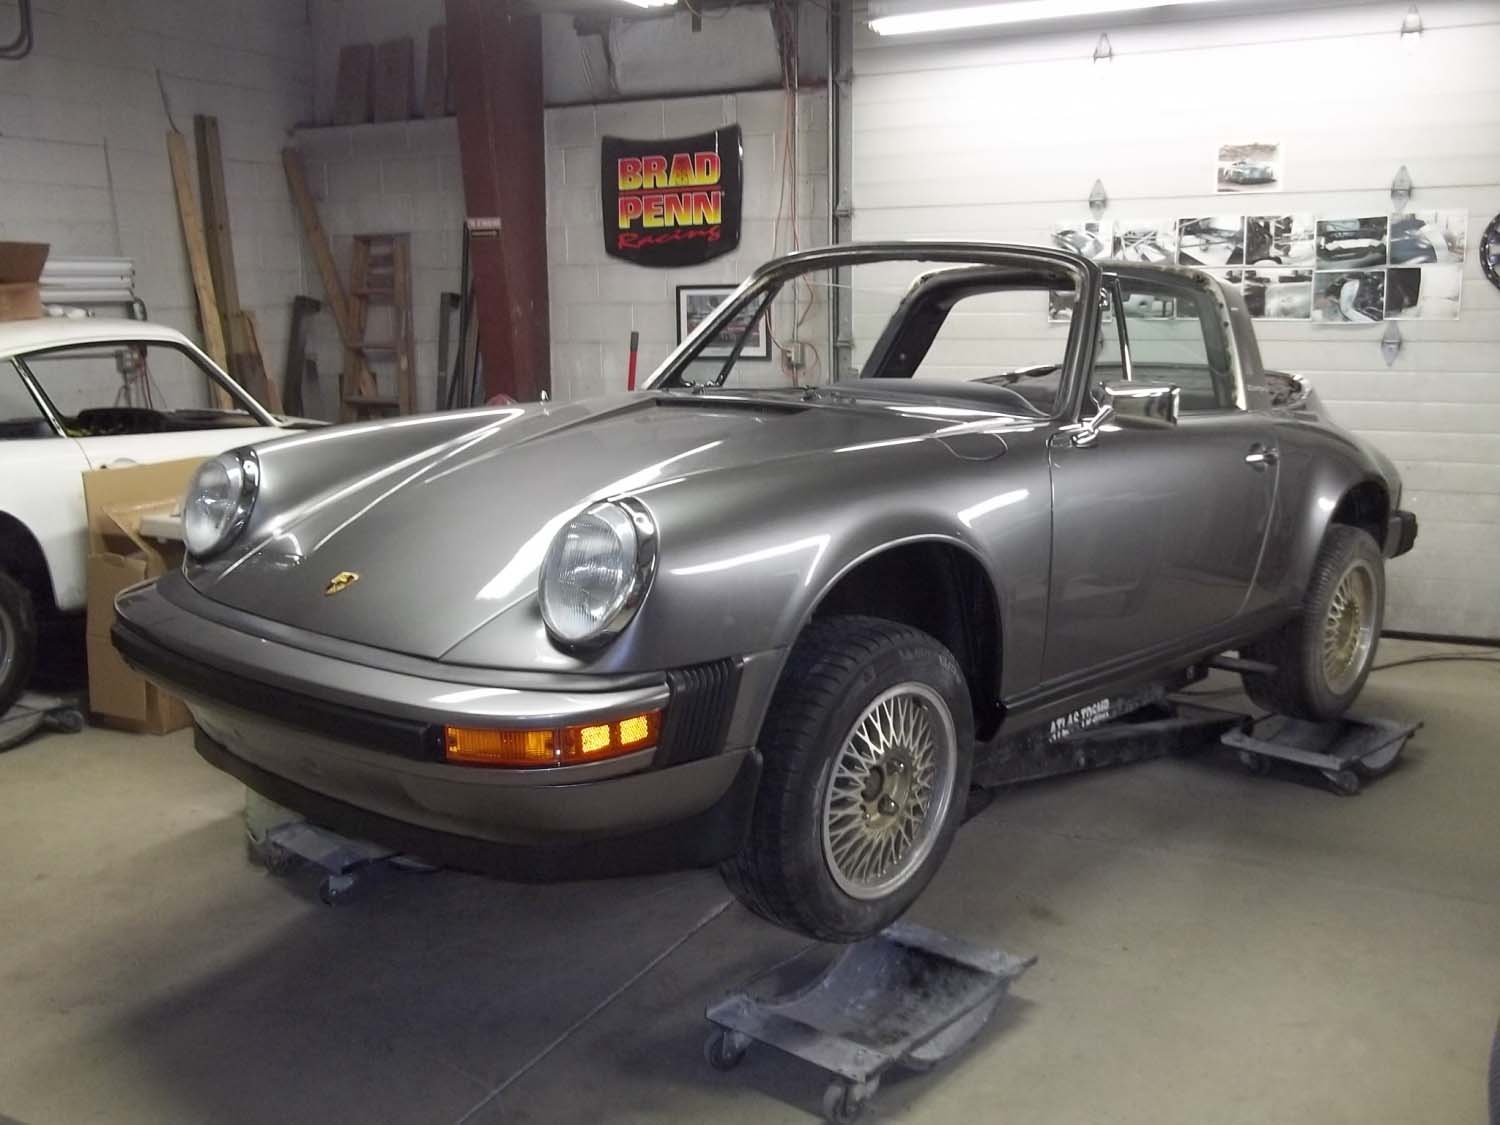
This Targa has been is the same family since the 80’s. The body was stripped and the interior gutted as it was brought back to life. It was done to look the same as when the owner was just a kid and couldn’t wait to drive it.
(Click on any image below to view larger size.)
- A typical rust spot at the targa bar mounting area. This had been previously repaired so a larger sectione was cut out and properly butt welded in.
- This section had been largely rusted away. But using what was left here and referencing the other side, a new piece was made.
- After a coat of paint, it will look like new.
- This flare was both sticking out at the lap joint but also tapering down from the original body line.
- After cutting, reshaping and some fabrication, it now looks correct.
- This is how the extension fit when the car arrived.
- It was short and did not extend out to the edge of the flare.
- Again, after more fabrication, we have a great fit.
- It looks good from both directions.
- A rusty section with a few pin holes is cut out and repaired.
- The new piece tacked in place. It will be finished and painted to look like new.
- This is the drivers side dash area. Water had gotten under the dash pad and worked its magic for some time.
- This is the “A” pillar in the same area.
- Fabricating several pieces to make the repair, it is as good as new. The lip for the windshield seal has also been replaced. It is the curved piece about 7″ long.
- Rust damage on the passenger side “A” pillar. What looks like metal pushed out is really factory lead to finish the seam.
- Slightly sanded before we knew it was lead.
- After the lead was removed, the damaged section was cut out.
- A patch is made before treating the metal behind it.
- A mint condition fender was found that had been chemically stripped and E-coated.
- The patch is completely welded in and ground smooth.
- Another view of the repair. After finishing and paint, it will look like new.
- The finished channel for the trunk seal.
- With the rest of the repair panels in place, the body is reassembled and checked for proper alignment. Numerous adjustments and checks are made throughout the process.
- Every panel affects the overall fit. That is why even the filler pieces behind the bumper must be in place. The bumper bellows were put in place as well. Any bodywork needed can now be done.
- Cutting out the rust in the battery box showed a very solid structure remained all around it. The metal below is cleaned, chemically treated and painted.
- Panels were made with the same contours to replace the rusted sections. The threaded holes were checked, showing one needed replacement.
- In reassembling the body, the door is adjusted to fit the body first.
- Next, we check how the front fender lines up with the door. Next is the trunk hood and so on.
- When the H4’s came in, they were fit to the fender right away. There can be issues and you never want to find them after finish paint.
- The headlight bucket is masked off to avoid excess paint buildup on the outside ring that the light must fit over.
- The last remaining area on the dash is complete.
- While paint is drying, repairs to the speaker holes are done.
- Both doors needed the same type of repair.
- The floor and dash are masked off. The floor is sanded and repaired. Then chemically treated.
- While the primer is drying, other parts are disassembled, blasted and painted. With a rebuild kit, this pedal cluster is ready to go.
- Epoxy primer and satin black paint is next.
- It’s ready for speakers to be fit.
- After repairs in the trunk, it is undercoated and painted body color.
- The engine bay gets a coat of body color as well. The wiring harness is then cleaned up and put back in place.
- The front fenders are undercoated before paint.
- This is the body color before clear.
- The base coat needed to be sanded before a finish coat could be sprayed.
- The finish coat laid down nice and smooth. It is a great color.
- Here the body has been masked and final preparations are being done before undercoating.
- While paint is drying, the freshly chromed handles are hand fit, re-keyed and reassembled.
- Wurth undercoating is used throughout.
- The suspension pieces will be done in the mechanical phase.
- The suspension pieces will be done in the mechanical phase.
- Here the entire body is color sanded and left to dry for several more weeks.
- The first round of parts for assembly are laid out.
- The interior detail on the door is done while we wait for assembly to begin.
- Countless parts of all sizes are prepared for the assembly process.
- This is going to look great. It is a great color.
- The rear is nearly complete.
- The lower panel fits great with the custom flare.
- The rocker boxes are sprayed with an interior body wax.
- One of the last things to go in is the fuel tank.
- New Perlon carpet trims the trunk out nicely.
- Dynamat is used to replace the factory tar like sheets.
- The body is done at this point.
- The interior will go in next.
- We used some of the original vinyl because it was in good shape.
- After the carpet on the sill is installed, the seats and floor mats will go in.
- Looking at the trunk lid, the peeling paint shows what hot Kentucky sunshine can do to your paint.
- Upon initial inspection, the floors are in good shape.
- The bottom structure of the gas tank support is gone but the top looks great.
- This is the bottom side of the pedal cluster area. It will be replace by sectioning a part from a new floor pan.
- With a little work, the seats look pretty good. Getting the smell out of them is the real task.
- The rear panel and seat backs can be used as is.
- This is the inside of the rear quarter panel where a flare was added. You can see a vertical crack in the undercoating. There is an extra layer of metal in the wheel well that will be cut away to address this crack and anything else that may be there.
- The current fit between the quarter panel and lower extension.
- With the body panels removed, detail cleaning and prep for power washing is done.
- With the body panels removed, detail cleaning and prep for power washing is done.
- A repair panel is made to close a hole where A/C components once were.
- Hand stripping the rear quarters.
- After power washing reveals a nice solid car underneath. (Next three pictures)
- This is a better picture of the inside of the rear flares.
- This is what it should look like.
- The front pan has been replaced.
- This is the channel for the trunk seal being removed.
- The rusted out section has been removed.
- The new panel is fit and tacked in place.
- The rusted out joining panel for the front fender is removed.


